


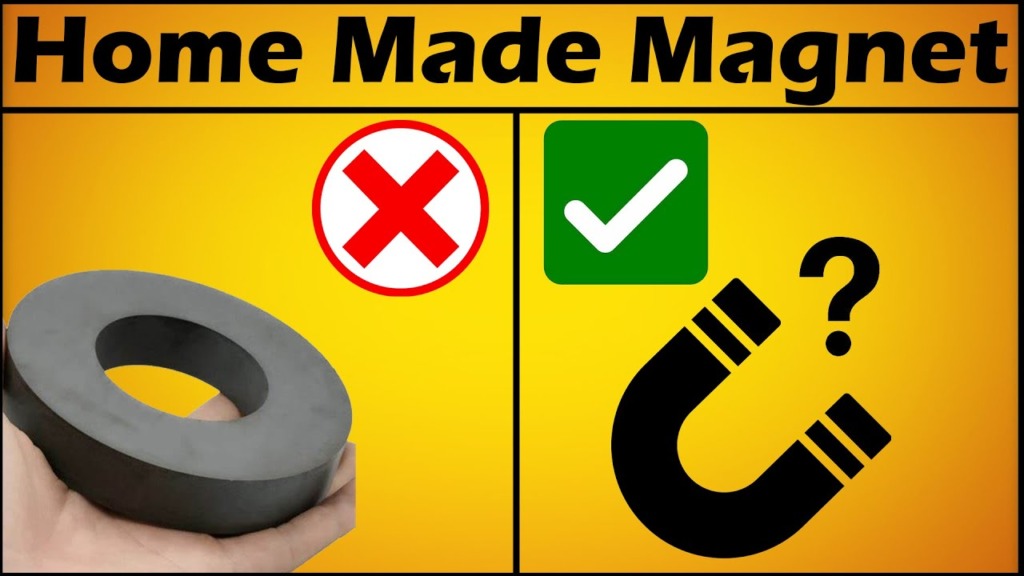
🧲 How to Make a Magnet at Home: A Complete Guide
Magnets are fascinating objects that have intrigued scientists and curious minds for centuries. From ancient lodestones to modern-day electromagnets, the science of magnetism has come a long way. But did you know that you can create your own magnet right at home using simple materials?
Whether you’re a student, a science enthusiast, or a curious parent, this guide will walk you through everything you need to know about making magnets at home — including different methods, how they work, materials required, real-life applications, and lots more.

🔬 1. Introduction to Magnetism
Magnetism is a force that can attract or repel certain materials, most commonly iron and steel. It’s one of the most fascinating and useful forces in nature. From MRI machines to electric motors, magnets are everywhere.
But you don’t need expensive equipment or advanced knowledge to start exploring the world of magnets. With just a few household items, you can create your own magnets and understand how they work.
🧲 2. What is a Magnet?
A magnet is an object that produces a magnetic field. This field is invisible, but it exerts a force that can attract materials like iron, nickel, and cobalt.
All magnets have two poles:
- North Pole
- South Pole
Like poles repel each other, and opposite poles attract — a rule you’ve probably heard in school.
📚 3. Types of Magnets
There are three main types of magnets:
- Permanent Magnets
- Made from materials that retain magnetism.
- Example: Fridge magnets, neodymium magnets.
- Temporary Magnets
- Made by rubbing or exposing to a magnetic field.
- Loses magnetism over time.
- Electromagnets
- Created by electric current.
- Can be turned on or off.
🌀 4. Understanding Magnetic Fields
Every magnet has a magnetic field around it. You can think of this field like invisible lines flowing from the North Pole to the South Pole. The field strength is strongest at the poles.
⚛️ 5. How Do Materials Become Magnetic?
Magnetism occurs when the electrons in a material align in the same direction. Normally, electron spins cancel each other out. But in magnetic materials, these spins line up, creating a magnetic field.
Materials that can become magnetic include:
- Iron
- Steel
- Cobalt
- Nickel


🔧 6. Method 1: Making a Magnet by Rubbing (Simple Method)
This is the easiest way to make a temporary magnet.
✅ Materials Needed:
- A nail or screwdriver
- A strong magnet (any household magnet)
- Paper clips
🔄 Steps:
- Take the nail and rub one end of it with the magnet.
- Always rub in one direction only (not back and forth).
- Do this for 30 seconds to 1 minute.
- Now bring the nail close to the paper clips — they should stick.
🔍 What’s Happening:
The magnetic field of the magnet aligns the electrons in the nail. The more you rub, the more aligned they become, turning the nail into a magnet.
🔌 7. Method 2: Creating an Electromagnet
This is a stronger magnet but works only when electricity is flowing.
✅ Materials Needed:
- Iron nail (large size)
- Copper wire (insulated or enameled)
- AA or 9V battery
- Tape
- Paper clips
⚙️ Steps:
- Wrap the wire around the nail — make many tight coils.
- Leave 2 inches of wire free on each end.
- Strip the ends of the wire (remove insulation).
- Tape the wires to the battery terminals.
- The nail becomes an electromagnet!
🚨 Important:
- Disconnect battery after use.
- Do not use large batteries for long — it may overheat.
⚡ 8. Method 3: Using a Battery and Wire Without Nail
You can make a simple magnetic field even without a nail.
✅ Materials Needed:
- Copper wire
- Battery
- Compass (optional)
🧭 Steps:
- Connect one end of the wire to the positive battery terminal.
- Connect the other end to the negative terminal.
- Place a compass near the wire — the needle will deflect.
This proves that a magnetic field is created when current flows through a wire.
🔥 9. Method 4: Heating and Cooling a Magnet (Advanced)
Caution: This should be done with adult supervision only.
When you heat a magnet and cool it again, its magnetic properties may change. High temperatures can demagnetize a magnet, and cooling can restore or strengthen it.
This method involves:
- Heating an iron rod.
- Placing it in a magnetic field.
- Cooling it rapidly (e.g., dipping in cold water).


⚡ 10. Method 5: Static Electricity (Temporary & Fun)
This method is more of a fun demonstration than a true magnet.
✅ Materials Needed:
- Plastic comb or balloon
- Wool cloth or hair
- Small paper bits
🧪 Steps:
- Rub the balloon or comb on your hair.
- Bring it near paper bits — they stick!
This is due to static electricity, not real magnetism.
✅ 11. How to Test Your Homemade Magnet
Try these methods:
- See if it attracts paper clips or iron nails.
- Use a compass to detect magnetic field.
- Place near another magnet and observe attraction/repulsion.
⚠️ 12. Safety Precautions
- Do not use large batteries for too long.
- Avoid over-heating any object.
- Supervise children during experiments.
- Wash hands after handling magnets.
🎯 13. Fun Magnet Experiments at Home
- Magnetic Maze: Draw a maze and guide a paperclip using a magnet.
- Floating Magnet: Stack magnets with like poles facing each other to create levitation.
- Magnet Fishing: Hide paper clips in a bowl of rice and “fish” them with a magnet.
🧱 14. Common Materials That Can Be Magnetized
- Iron nails
- Steel pins
- Paper clips
- Screws
- Razor blades
- Old iron keys
💡 15. Applications of Homemade Magnets
- Picking up small metal objects
- Science fair projects
- DIY electromagnets for toys
- Understanding physics principles

🛑 16. Limitations of Homemade Magnets
- May lose magnetism quickly
- Not very strong
- Electromagnets need power
- Limited use for heavy objects
❓ 17. Frequently Asked Questions (FAQs)
Q1: Can I magnetize aluminum or copper?
No. These are not ferromagnetic materials.
Q2: How long does a homemade magnet last?
Rubbing magnets may last a few hours or days. Electromagnets work as long as power flows.
Q3: Can water be magnetized?
No. Water is not magnetic.
Q4: Can I make a magnet without a magnet?
You can use electricity (electromagnet) or expose iron to a magnetic field (more complex setups).
📚 18. Summary
| Method | Strength | Duration | Requires Electricity? |
|---|---|---|---|
| Rubbing | Low | Temporary | No |
| Electromagnet | High | While On | Yes |
| Static Electricity | Very Low | Seconds | No |
| Battery & Wire | Medium | While On | Yes |
🧠 19. Final Thoughts
Making a magnet at home is a fantastic way to explore science hands-on. Whether you’re rubbing a magnet on a nail or building a homemade electromagnet, these methods help build curiosity, critical thinking, and a deeper understanding of physical forces.
So grab your copper wire, iron nails, and batteries — and bring the power of magnetism into your hands!
🧲 How to Make a Magnet at Home

🧲 How to Make a Magnet at Home🧲 How to Make a Magnet at Home🧲 How to Make a Magnet at Home🧲 How to Make a Magnet at Home🧲 How to Make a Magnet at Home🧲 How to Make a Magnet at Home🧲 How to Make a Magnet at Home🧲 How to Make a Magnet at Home🧲 How to Make a Magnet at Home🧲 How to Make a Magnet at Home🧲 How to Make a Magnet at Home🧲 How to Make a Magnet at Home🧲 How to Make a Magnet at Home🧲 How to Make a Magnet at